My NordVPN subscription allows up to 6 devices connected simultaneously. This isn’t enough and has caused some of my devices to drop their VPN connections when new devices come online.
Luckily there’s a trick I can use on my home router to overcome this.
Table of Contents
Most VPN services give you several methods to connect. Besides native apps for Windows, macOS, iOS, etc., most also allow you to connect with OpenVPN.
You can check your router setup to see if it supports OpenVPN Client (OpenVPN Server is for hosting your VPN which isn’t relevant here).
Although the new D-Link DIR-882 router that I bought recently doesn’t natively support OpenVPN clients, DD-WRT does!
DD-WRT is a popular custom firmware that supports a large collection of routers. It adds a lot of functionality to your router without any additional costs. If you don’t like it, you can always reinstall the stock firmware (useful if you need to return the router to the manufacturer for repair/warranty purposes as they probably don’t accept your router with custom firmware installed).
One of the many features that DD-WRT supports is OpenVPN Clients with split tunnelling (which I will discuss below).
Installation
After seeing a success story and postings on the DD-WRT forum from people with the same router model as mine, I was confident and followed the instructions. Some deviations that I noticed while installing:
- when booting the router into crash recovery mode, the LEDs blink red in a few seconds and is ready
- plug the ethernet cable from the computer to a LAN port on the router during crash recover mode
- as factory-to-ddwrt.bin and the dlink-dir882-a1-webflash.bin are both on the latest version, after uploading factory-to-ddwrt.bin, there is no need to upgrade the firmware with dlink-dir882-a1-webflash.bin
Not What I Expected…
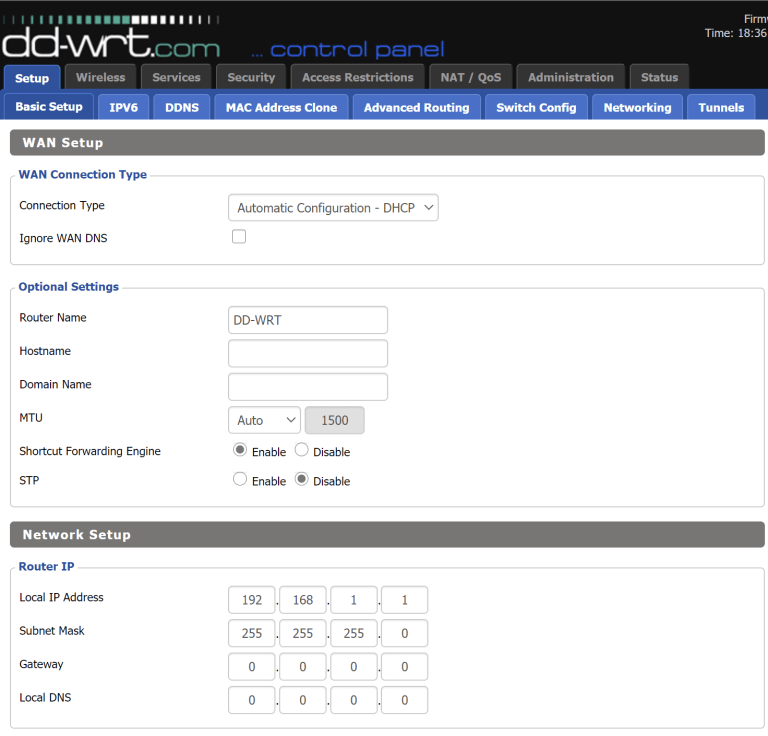
DD-WRT Screen
I was pretty excited to see DD-WRT up and running with very little efforts and hiccups. Unfortunately, the smile on my face disappeared just as quickly.
The first thing I did was to set up the SSID for wireless access. This was a little painful as the setup page would randomly freeze up. Worse still, my devices have trouble finding the new SSID and staying connected to it. I tried changing some of the Advanced Settings like TX Power and Gain but it didn’t work and I had no idea what I was doing.
On the verge of reverting to stock firmware and running the thoughts of buying another router that natively supports OpenVPN Client, I searched online for others with similar issues.
Broly To The Rescue
Although I couldn’t find anyone experiencing the same problems as me, I did find another version of the firmware based on DD-WRT specifically for my router model. This “Broly” version was last updated on Aug 3, 2020, whereas the “official” DD-WRT version that I used was updated on Aug 6, 2019! The Broly version has a lot of features added in and existing ones updated, with a lot of people giving positive comments.

Broly’s 1st Post
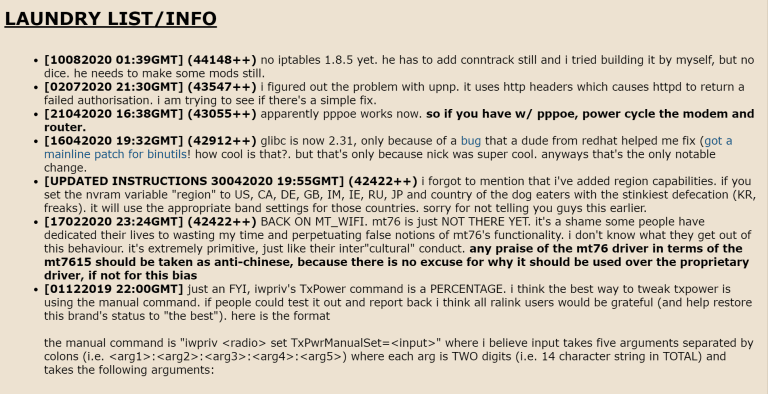
Broly’s Changelog
Initially, I was a bit baffled from the “rants” on Broly’s first post, but seeing the frequent updates in the changelogs was reassuring.
Reinstalling and Configuring OpenVPN
Installing the Broly firmware uses the exact method as installing DD-DRT.
Upon installation, I was greeted with a similar layout as the original DD-WRT but I noticed that the fields and options are more up-to-date. I was no longer experiencing any crashes and my devices were able to connect to the new SSID. Compare to the stock D-Link firmware, the number of new settings here can seem a bit baffling, but in a nice way. 😁
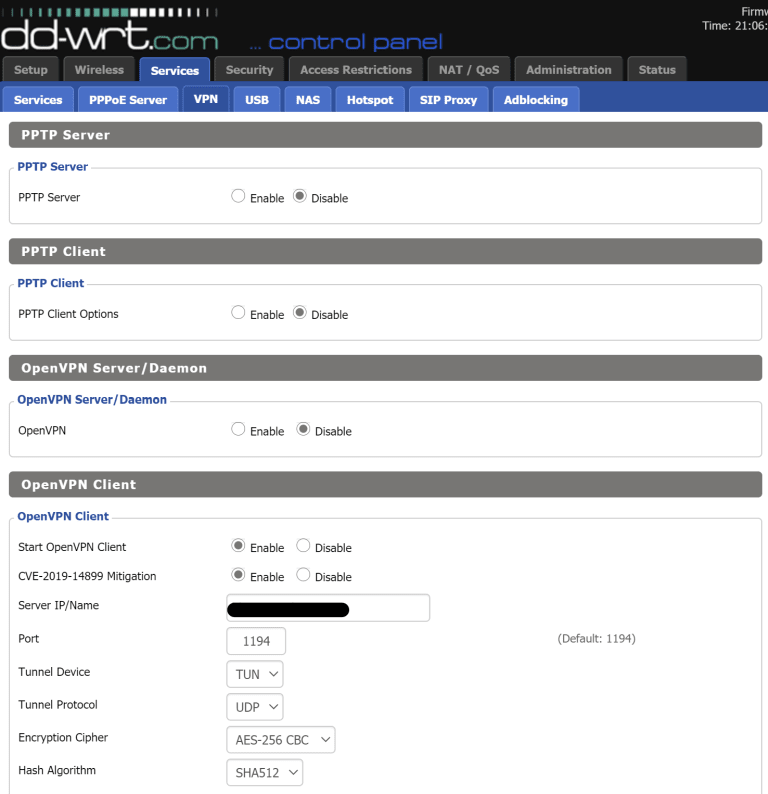
DD-WRT OpenVPN Client Configuration
I found the OpenVPN page and configured the settings accordingly. All the devices connected were having their connections routed through the VPN. Even devices that I wasn’t sure would work over the VPN, like my smart TV, worked flawlessly.
Split Tunneling
With traffic from all my devices going through the VPN, I can no longer access the services that I exposed outside my home. I need a way for the machine that hosts my exposed services to skip the VPN.
This is where split tunnelling comes in. In the OpenVPN Client section of DD-WRT, there is a field called Policy Based Routing. You can enter a CIDR IP range here and these IPs will have their traffic go through the VPN, leaving out all other IP addresses to bypass it.
I configured the devices that have their traffic go through the VPN to have IPs spread out in the range of 192.168.1.2 to 192.168.1.199 (192.168.1.1 is the IP of my router). Thus I put this CIDR range in the Policy Based Routing field:
192.168.1.2/31
192.168.1.4/30
192.168.1.8/29
192.168.1.16/28
192.168.1.32/27
192.168.1.64/26
192.168.1.128/26
192.168.1.192/29
I assigned the machine with hosted external services on 192.168.1.200. I also configured my DHCP server to assign new IP addresses from 201 onwards. Thus any new devices that I add to the network will bypass the VPN by default. This allows me to test a new device without a VPN connection easily and I can assign it an IP below 200 once I want to add it to my network.
Conclusion & Caveats
Now that I have reduced the VPN connections of all my home network devices to 1, I have 5 connections available for my mobile devices while I leave home.
Overall I was fairly pleased with the installation and configuration process. It was easy and straight forward.
However, there’re still some things that I need to work out:
- The internet speed according to internet speed test websites (e.g. Speednet.net, fast.com) has dropped dramatically. It went from ~700Mbps to ~20Mbps. That’s ~97% speed reduction! Interestingly, I haven’t noticed too much of a speed difference in everyday surfing. And I am still able to stream 4K videos from YouTube.
- I can’t access the USB drive that I plugged into the router. I don’t know if it’s because it was windows formatted or if I need to configure further settings in DD-WRT (I’ve already got it to auto-mount)